If you want to give your iPhone a unique and personal touch, creating a custom wallpaper in Photoshop is the way to go. Here is a step-by-step guide on how to create a custom wallpaper for your iPhone in Photoshop.
Step 1: Open Photoshop
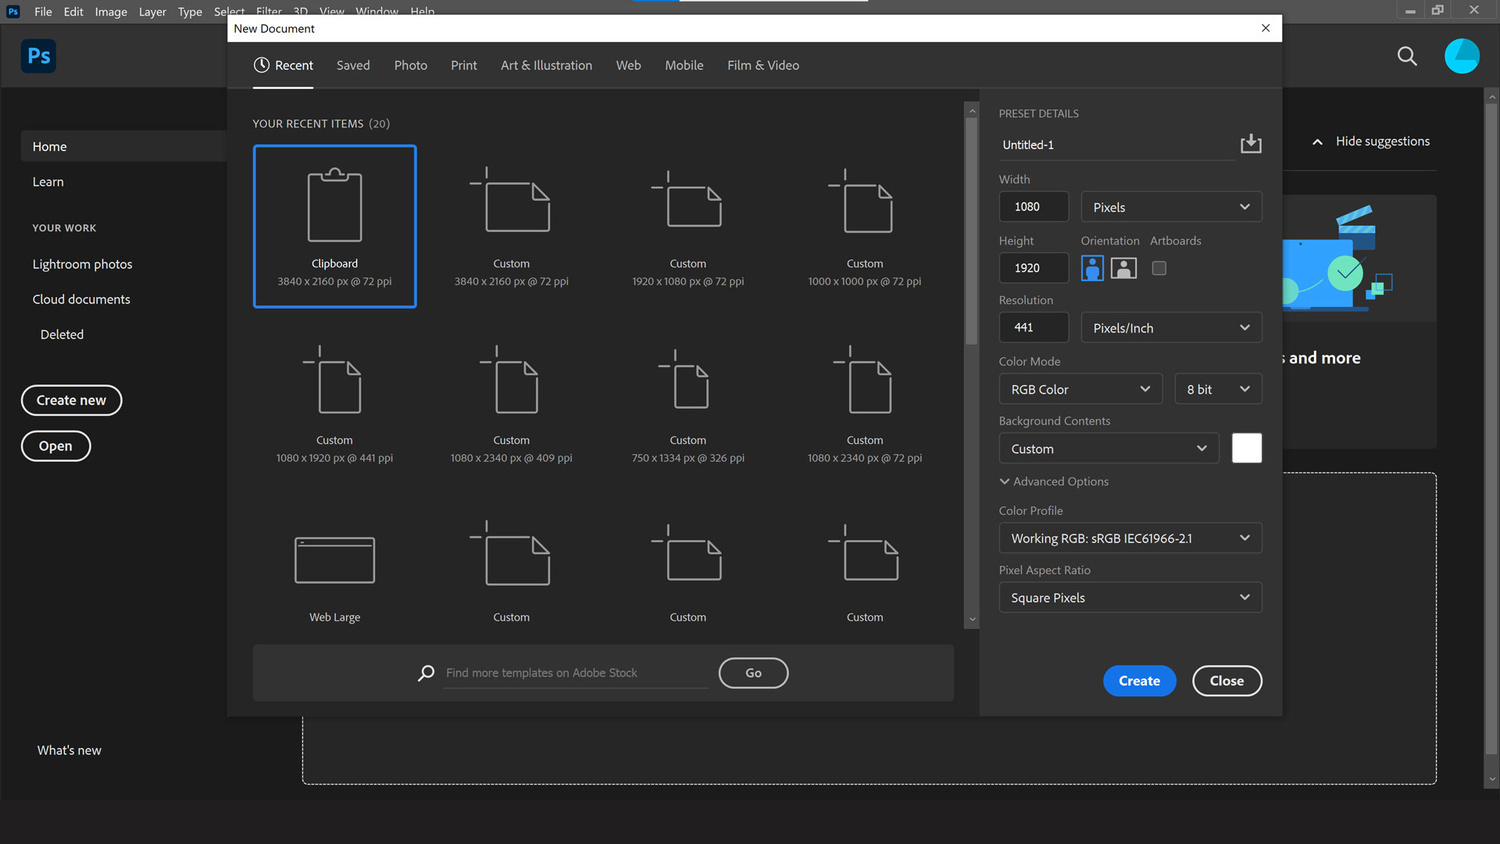
Open Photoshop and create a new document with the following dimensions: 1136 x 640 pixels. This is the resolution for an iPhone 5, 5s, 6 and 6 Plus.
Step 2: Create Your Design
Using the tools available in Photoshop, such as the Brush, Pen and Shape tools, you can create a design that is unique to you. You can also import images and text to create a wallpaper that’s truly your own.
Step 3: Save for Web
Once you’re done with your design, head to the ‘File’ menu and select ‘Save for Web’. This will ensure that your image is optimized for the web and your iPhone.
Step 4: Set Your Wallpaper
On your iPhone, go to ‘Settings’ and then ‘Wallpaper’. Select ‘Choose a New Wallpaper’ and then choose the image you just saved in Photoshop. Your custom wallpaper is now set!
Creating a custom wallpaper for your iPhone in Photoshop is a great way to make your device look unique and personal. With a few simple steps, you can have a one-of-a-kind wallpaper that reflects your style.
10 Amazing Photoshop Tricks for iPhone Photos
- Clean Up Your Photos: Dust and scratches on your photos can distract viewers and take away from the overall aesthetic. To fix this, use the Spot Healing Brush Tool in Photoshop to clean up your photos.
- Make Subtle Color Adjustments: Color is one of the most important elements of any photo. To make subtle color adjustments, use the Color Balance tool in Photoshop. This will allow you to adjust the shadows, midtones, and highlights of your photo for a more vibrant look.
- Sharpen Your Images: To make your images look sharper, use the Sharpen Tool in Photoshop. This will bring out the details in your photos and make them look more crisp.
- Fix Red-Eye: Red-eye is a common problem with iPhone photos. To fix this, use the Red Eye Tool in Photoshop. This will allow you to quickly and easily remove the red-eye from your photos.
- Brighten Your Photos: To make your photos look brighter, use the Brightness/Contrast Tool in Photoshop. This will allow you to adjust the brightness and contrast of your photos for a more vibrant look.
- Add Special Effects: To add some extra flair to your photos, use the Layer Styles Tool in Photoshop. This will allow you to add special effects such as drop shadows, glows, and more.
- Remove Unwanted Objects: To remove unwanted objects from your photos, use the Clone Stamp Tool in Photoshop. This will allow you to quickly and easily remove any unwanted objects from your photos.
- Create a Vignette: To create a vignette effect, use the Vignette Tool in Photoshop. This will allow you to add a subtle vignette effect to your photos for a more dramatic look.
- Create a Collage: To create a collage of multiple photos, use the Photomerge Tool in Photoshop. This will allow you to quickly and easily combine multiple photos into a single image.
- Adjust Perspective: To adjust the perspective of your photos, use the Distort Tool in Photoshop. This will allow you to adjust the perspective of your photos for a more interesting and dynamic look.
5 Tips for Enhancing iPhone Photos with Photoshop
- Utilize Adjustment Layers: Photoshop’s adjustment layers offer a variety of tools to enhance the color and contrast of iPhone photos. Adjustment layers allow users to apply color and contrast adjustments without impacting the original image.
- Leverage Camera Raw Filter: The Camera Raw filter in Photoshop provides a wide range of options to enhance iPhone photos. This includes adjustments for exposure, white balance, clarity, and sharpening.
- Use the Spot Healing Brush Tool: The Spot Healing Brush Tool can be used to remove blemishes, distractions, and other unwanted elements from the photo. This tool can be used to erase small areas or larger sections of the photo.
- Crop Photos for Composition: Cropping photos can help create a more balanced composition and draw focus to the subject. The Crop Tool in Photoshop allows users to adjust the photo’s aspect ratio, size, and resolution.
- Utilize Layer Masks: Layer masks can be used to selectively add adjustments to specific areas of the photo. This allows users to apply adjustments without impacting the entire image. Layer masks can also be used to fade adjustments for a more subtle effect.
How to Create Professional iPhone Photos with Photoshop
Taking stunning photos with an iPhone is easy thanks to its built-in camera and editing software. But if you’re looking to take your iPhone photography to the next level, you can use Adobe Photoshop to create professional-looking images. Here’s a step-by-step guide on how to use Photoshop to create professional-looking iPhone photos.
- Get the right equipment. To create professional-looking iPhone photos, you will need a tripod, an iPhone, and a computer with Adobe Photoshop installed.
- Set up the tripod. Place the tripod on a level surface and adjust the height of the tripod so that it is slightly higher than the iPhone.
- Mount the iPhone on the tripod. Use a phone mount to attach the iPhone to the tripod. Make sure the iPhone is securely in place and that it is facing the desired direction.
- Take the photo. Use the iPhone’s camera to take the photo. Make sure the lighting is good and that the photo is in focus.
- Transfer the photo to your computer. Connect the iPhone to your computer and transfer the photo to your computer’s hard drive.
- Open the photo in Photoshop. Open Photoshop and select the photo you just transferred.
- Edit the photo. Use Photoshop’s editing tools to adjust brightness, contrast, saturation, and other settings to create the desired effect.
- Save and export the photo. Once you are satisfied with the edited photo, save the photo and export it to the desired file format.
Following these steps will help you create professional-looking iPhone photos using Adobe Photoshop. With patience and practice, you can create stunning images to share with the world.
Understanding the Different Image Resolutions for iPhone Photos in Photoshop
Understanding the different image resolutions for iPhone photos in Photoshop is an important skill for photographers and graphic designers alike. When working with digital images, it is essential to be aware of the various image resolutions available, as they can have a significant impact on the quality of the final product.
When using Photoshop to edit iPhone photos, the primary resolution you will be working with is 72 pixels-per-inch (PPI). This is the default resolution for iPhone photos, and it is suitable for most digital projects, including web and printing projects. However, it is important to note that this resolution is not suitable for large-scale printing projects such as posters, billboards, or other large-format prints.
Other image resolutions available in Photoshop for iPhone photos include 300 PPI and 600 PPI. The 300 PPI resolution is typically used for printing projects, and it is suitable for most digital projects. The 600 PPI resolution is generally used for high-quality printing projects, such as brochures or magazines.
When selecting an image resolution in Photoshop, it is important to consider the size and type of the project. For example, if you are creating a poster, you may want to select the 600 PPI resolution. On the other hand, if you are creating a web banner, you may want to select the 72 PPI resolution.
Understanding the different image resolutions available in Photoshop for iPhone photos is essential for producing high-quality images. Knowing which resolution to select for a project can help ensure that the final product is of the highest quality.