Creating professional quality photos can be a daunting task, but the Fotor Editor makes it easy. Fotor is an easy-to-use online photo editor that allows users to quickly and easily enhance their photos with a variety of tools and filters. With Fotor, you can create stunning photos for use in personal or professional projects.
The first step in creating professional quality photos with the Fotor Editor is to upload an image or take a new photo. Once the image is uploaded, you can begin to edit it. Fotor offers a variety of tools and filters that can be used to enhance your photos. Some of the tools you can use include cropping, resizing, adding text, and applying effects.
Once you have adjusted the image to your liking, it is time to save the image. Fotor allows you to save the image in a variety of formats including JPEG, PNG, and TIFF. It is important to choose the format that best suits the purpose of the image. For example, if you are creating an image for use on the web, it is best to save the image as a JPEG.
Finally, you can share the image with others. Fotor makes it easy to share your photos on social media or with friends and family. With just a few clicks, you can share your images with the world.
Creating professional quality photos with the Fotor Editor is easy and fun. With the right tools and filters, you can quickly and easily create stunning photos that can be used in personal or professional projects.
Tips and Tricks for Enhancing Your Photos Using the Fotor App
1. Utilize the Crop Tool: The crop tool in Fotor allows you to easily adjust the size and shape of your image. This can be used to remove any unnecessary background elements or to adjust the angle of the photo to make it more visually appealing.
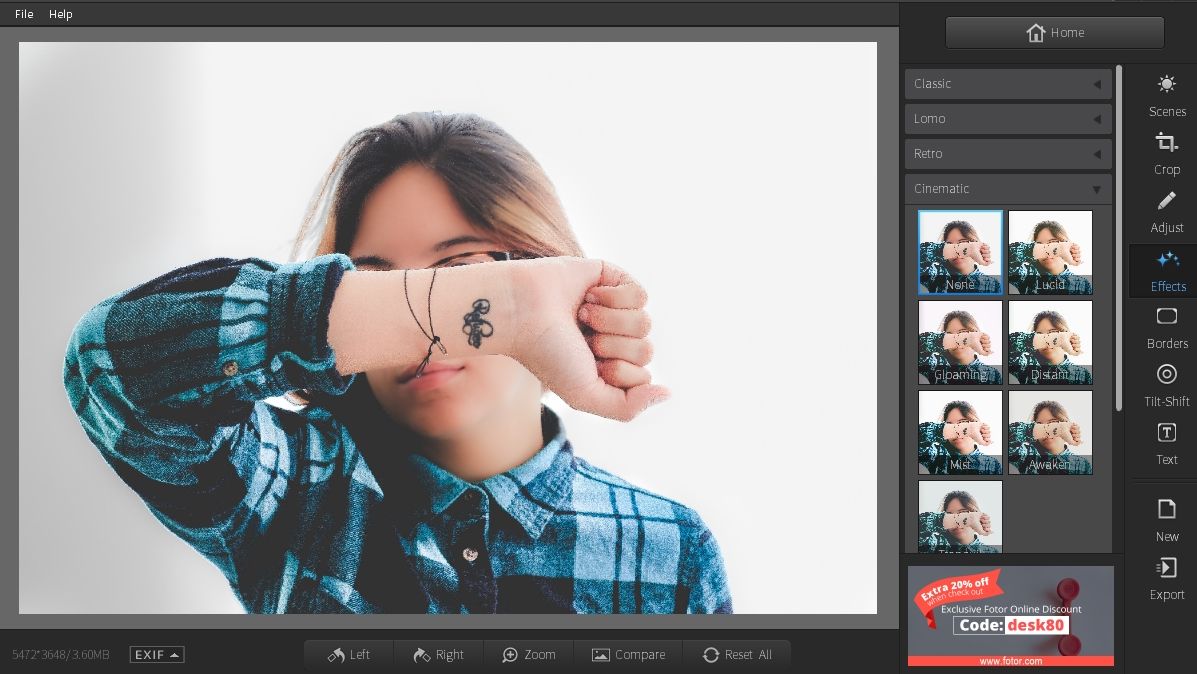
2. Enhance Images with Filters: Fotor features a variety of built-in filters that can be used to add a creative touch to your photos. By experimenting with different filters, you can quickly find the one that best suits the mood of your image.
3. Use the Color Splash Tool: The color splash tool in Fotor allows you to selectively colorize parts of your photos. This can be used to draw attention to specific elements in the photo or to create a more dramatic effect.
4. Add Text to Your Photos: The text tool in Fotor allows you to easily add captions or other text to your photos. This can be a great way to add context to your images or to add a personal touch.
5. Adjust the Exposure and Contrast: The exposure and contrast adjustments in Fotor can be used to make subtle changes to the overall look of your photos. This can be used to draw attention to certain elements or to create a more balanced image.
6. Make Use of the Vignette Effect: The vignette effect in Fotor can be used to create a soft, subtle border around the edges of your photo. This can be used to create a more aesthetically pleasing composition.
7. Utilize the Blur Tool: The blur tool in Fotor can be used to soften the background in your photos. This can be used to make the subject stand out more and to create an interesting visual effect.
An Overview of the Different Features and Tools Available in the Fotor Editor
Fotor is an online photo editing platform that provides users with a wide range of tools and features to enhance their photos. It is available in both a free and paid version, so that users have access to a variety of features and tools.
The basic features of Fotor include the ability to crop, rotate, and adjust the brightness, contrast, and saturation of photos. It also provides users with the ability to add frames, text, and clip art. Additionally, users can apply over 60 filters and effects to photos, including vintage, black and white, and cartoon effects.
In addition to the basic editing tools, Fotor also has several more advanced features. It allows users to create collages and montages, and apply HDR effects to enhance photos. There are also tools for retouching photos, including the ability to remove blemishes, whiten teeth, and smooth out skin.
The Fotor editor also has several tools for creating graphics. Users can create banners, posters, and business cards with ease. There is also an AI-powered design feature that can generate designs from photos.
Finally, Fotor allows users to save and share their photos with ease. Photos can be shared directly to social media, or exported to popular formats such as JPEG and PNG.
Overall, Fotor provides users with a comprehensive set of features and tools for editing and enhancing their photos. From basic editing tools to more advanced features, Fotor is a great choice for turning ordinary photos into works of art.
A Comprehensive Guide to Editing Your Photos with the Fotor Editor
The Fotor Editor is a powerful and user-friendly photo editing tool that can help you quickly and easily edit your photos. With a wide variety of features and tools, you can turn your images into stunning works of art. This comprehensive guide will walk you through the process of using the Fotor Editor to edit and enhance your photos.
The first step in using the Fotor Editor is to import your photos. You can do this by clicking on the “Open” icon on the top bar, or by dragging and dropping your photos into the editor window. Once your photos are imported, you can begin to edit them.
The next step is to adjust the basic settings of your photos, such as brightness, contrast, and saturation. You can do this by clicking on the “Adjust” icon and making the necessary adjustments. You can also use the “Auto” option to quickly apply basic adjustments to your photos.
Once you are happy with your basic settings, you can begin to make more advanced edits. You can use the “Clone” tool to remove unwanted objects from your photos, or the “Retouch” tool to make adjustments to specific areas of the image. You can also use the “Layers” feature to add text, shapes, or other elements to your photos.
Finally, you can use the “Export” feature to save your edited photos in a variety of different formats. You can also share your images directly from the Fotor Editor to popular social media platforms.
Using the Fotor Editor is a great way to quickly and easily edit your photos. With a few simple steps, you can enhance your photos and make them look their best.
How to Easily Create Eye-Catching Graphics with the Fotor Editor
Creating eye-catching graphics can be a daunting task, especially if you don’t have any design experience. However, with the help of the Fotor Editor, you can create stunning graphics in no time. This powerful tool can help you easily create amazing visuals for your projects.
First, you will need to create an account with Fotor. This can be done quickly and easily. Once you have an account, you will be able to access the Fotor Editor. Here, you can choose from a variety of templates to use as a starting point for your graphic. You can then customize the template to your liking.
The Fotor Editor offers a wide range of editing tools. You can use the crop and rotate tools to adjust the size and orientation of your image. You can also adjust the brightness, contrast, and saturation levels. Additionally, you can add text, apply filters, and add stickers to your graphic.
The Fotor Editor also has a selection of backgrounds, frames, and borders that you can use to enhance your graphics. There are also clip art images and shapes that you can add to your design.
When you are finished designing your graphic, you can save it in a variety of formats, such as PNG, JPEG, and PDF. You can then share your graphic with others or upload it to social media sites.
Creating eye-catching graphics with the Fotor Editor is fast and easy. With the help of this powerful tool, you can create stunning visuals for your projects in no time.